Device discovery
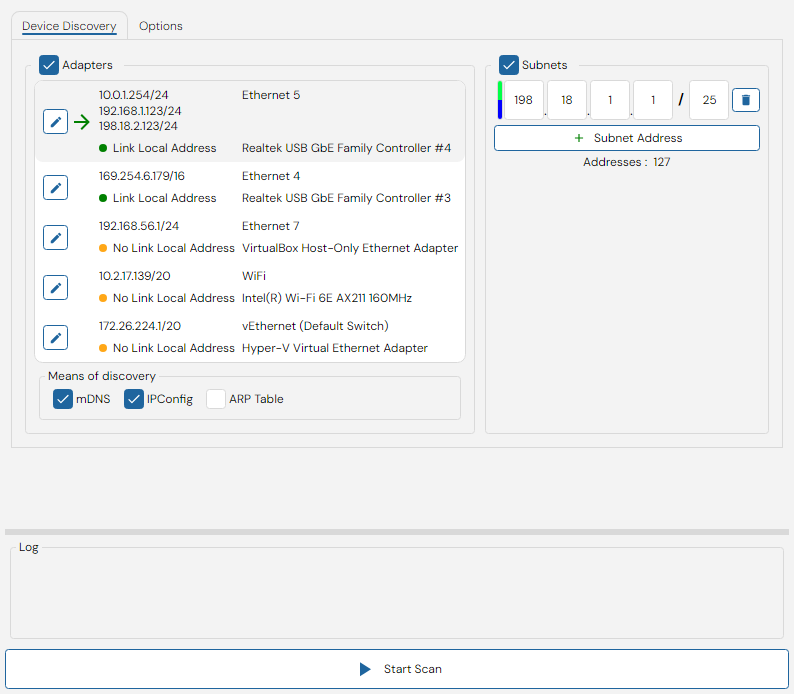
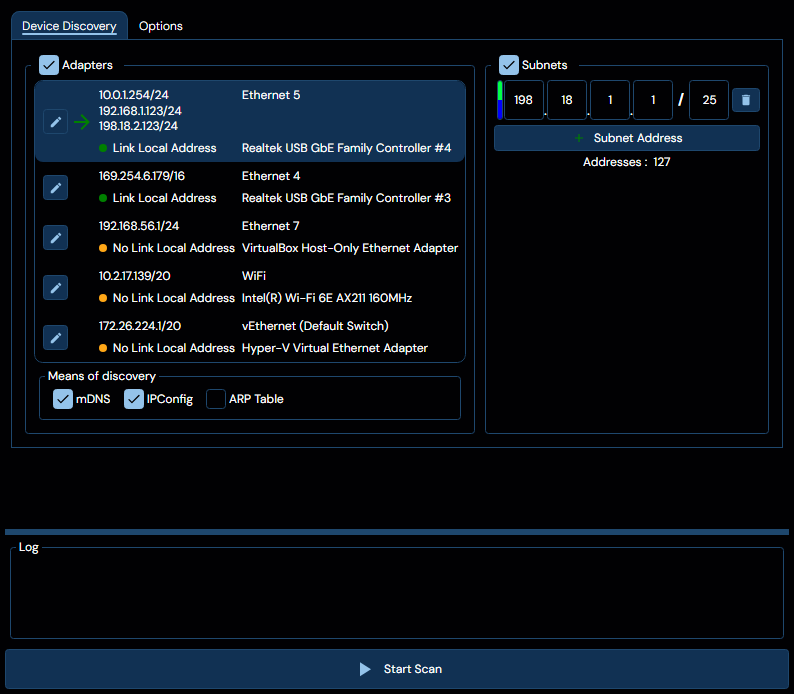
The device discovery task exists to enable local and remote identification of network devices. The image below display the typical user interface for this task.
Interface Elements
Network Interface selector
This element lists the available network interfaces on the PC, with each entry containing the following data:
- A list of CIDR-notation network addresses associated with the interface.
- An indicator for whether or not the interface has a link local address.
- The interface name, seen as, for example
Ethernet 5at the top entry in the image above. - The device name associated with the interface, for example
Realtek USB GbE Family Controller #4in the image above. - An edit button.
Edit button
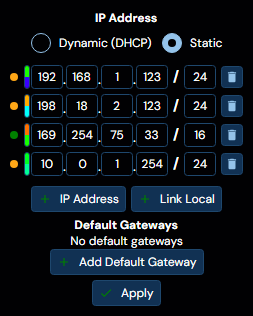
The edit button, attached to each individual network interface listed, allows a user to bring up an editor for that interface which appears roughly as per the image below:
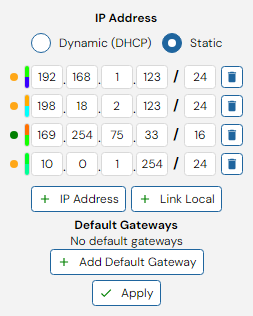
This editor allows the user to specify either a number of static CIDR-notation addresses for the interface, or set DHCP assignment for the interface.
Additionally, the editor allows the user to configure a default gateway for the specific interface, in order to ease routing access.
On Windows, using the editor functionality requires at least NET ADMIN or Administrator privileges. WeConfig will request these privileges as needed.
On Linux, when not running as sudo or as the root user, WeConfig will attempt to run pkexec to gain the necessary privileges for the editor operation
Interface Discovery Methods
Located beneath the network interface selector, this element contains a selection of discovery methods to be applied to the selected interfaces. The options are as follows:
| Option | Description | Limitations |
|---|---|---|
| mDNS | Multicast domain name resolution, a protocol that broadcasts a request for devices to identify themselves on the specified interface. | mDNS calls do not jump across routes, and thus will only discover layer 2 connections. |
| IPConfig | A Westermo specific protocol used to discover WeOS 4 units, | Provides a fairly limited amount of metadata, limited similarly to mDNS to only layer 2 connections. |
| ARP Table | Checks the PC's ARP-table for reachable IP addresses | Requires a populated ARP table on the local PC |
Subnets
This element allows the user to specify a number of subnets to be scanned during the discovery process. These subnets will be scanned with ICMP ping in addition to any addresses discovered by interface-based methods. You may add any number of subnets to this list by clicking the + button, and remove them by clicking the trash button next to each subnet. Beneath the subnet list, you will see a count of the number of addresses that will be scanned during the discovery process.
Options
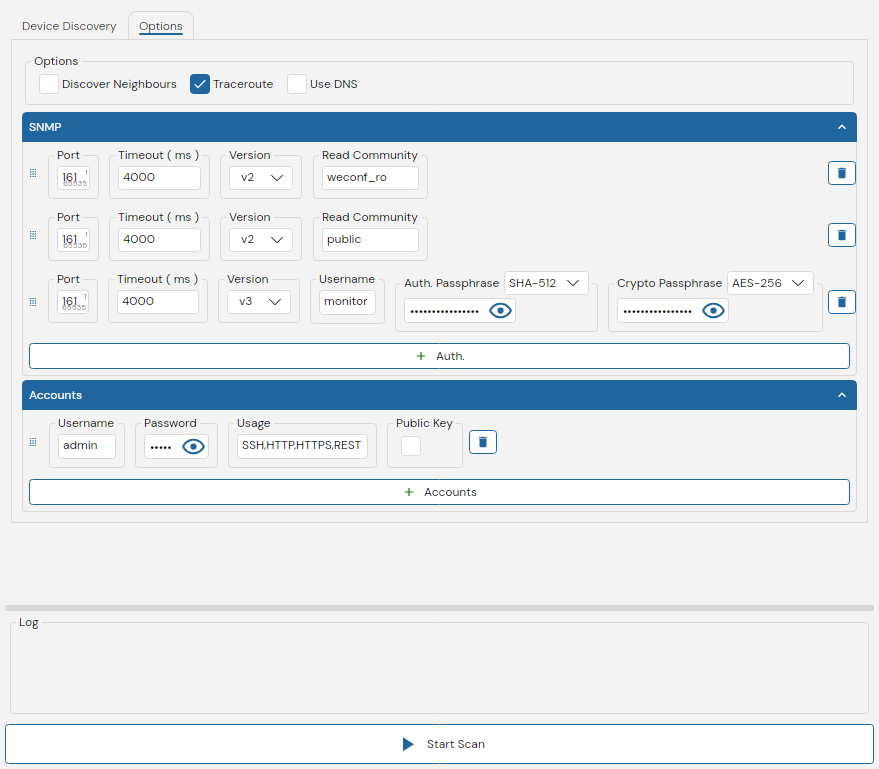
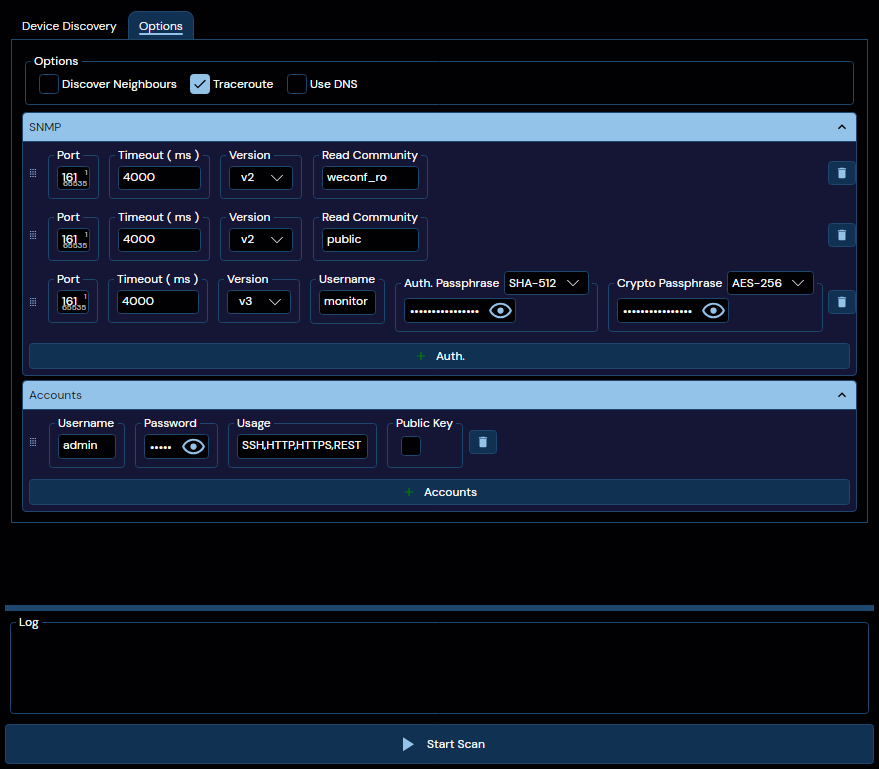
This tab contains a number of options that affect the behavior of the discovery task:
| Option | Description |
|---|---|
| Discover Neighbours | When enabled, the discovery process will apply recursive discovery to all discovered devices. This allows for the discovery of devices that may not be directly reachable, and across routing boundaries. |
| Traceroute | When enabled, the discovery process will perform a traceroute to all discovered devices that do not have a known topological connection to the local PC. This allows for the discovery of intermediate routing devices. |
| Use DNS | When enabled, the discovery process will attempt to resolve the hostnames of discovered devices using DNS. This can provide more user-friendly names for devices, but may not always be successful depending on the network configuration. |
All of these options add significant time to the discovery process, especially when applied to large numbers of devices.
SNMP
Located beneath the Options group, this element allows the user to configure SNMP settings for the discovery process. These settings include:
- SNMP Port
- SNMP Timeout
- SNMP Version to be used (v2c or v3)
- SNMP Community String (for v2c) or User Credentials (for v3)
Multiple SNMP configurations can be created and selected for use during the discovery process.
Accounts
Beneath the SNMP settings lies the Accounts section, where the user can configure account credentials for the discovery process. These credentials will be used to authenticate with devices during discovery when the "Usage" field matches the type of account being requested.
The fields available for each account credential include:
- Username: The username for the account
- Password: The password for the account
- Usage: The type of usage this account is intended for (e.g., SSH, HTTP, HTTPS, REST)
- Public Key: Whether or not public-key authentication should be used for this account.
The following usage types are available for account credentials, at least one needs to be configured, and multiple can be configured as a comma-separated list:
| Type | Explanation |
|---|---|
| SSH | Used for authenticating with devices over the SSH protocol |
| HTTP | Used for authenticating with devices over the HTTP protocol |
| HTTPS | Used for authenticating with devices over the HTTPS protocol |
| REST | Used for authenticating with devices over REST-based APIs |
Warnings, Windows Only
The following actionable warnings may appear during the task, each with a remediation link that can be clicked:
| Warning | Explanation |
|---|---|
| IPConfig is blocked | The PC's firewall does not allow IPConfig packets to be sent or received, which will prevent device discovery using this protocol |
| mDNS is blocked | The PC's firewall does not allow mDNS packets to be sent or received, which will prevent device discovery from using this protocol |
All of the remediation links require escalated privileges to resolve, WeConfig will request these as necessary.
NET ADMIN is sufficient to add link local addresses, but Administrator is required for any firewall editing.
Log
This box contains a log window of the discovery process. The log will indicate which addresses respond to the different protocols used, the data about the devices as they are being discovered, as well as the current state of the discovery process.